WordPress is an free and open source blogging and CMS tool. WordPress is easy to manage and at the same time, a very powerful tool. One can easily extend the functionality of WordPress by installing plugins. It is estimated that 15% of the present websites are built on WordPress. To your surprise, WPWebHost is also built on WordPress.
WampServer is an open source web development platform on Windows. It allows you to create web applications with Apache2, PHP and a MySQL database.WampServer consists these software: Apache, MySQL and PHP/phpMyAdmin.
Why to install WordPress on WampServer?
WordPress is a popular choice today for people to create websites because of its user-friendliness and powerful features. But, Installing WordPress on your hosting directly and getting along with it can be a tough process. Also, you need to test your website, theme, etc to rest assure that it will not crash on the live server. So, to do this task, we setup a WampServer (which has all the basic requirements to install Worpdress), install WordPress on WampServer and then test our website before its final launch. Also, you get hand-to-hand experience with WordPress.
1~ Download setup files
- Download ‘WampServer’ from its download page: http://www.wampserver.com/en/#download-wrapper
- Download ‘Worpdress’ from its download page: https://wordpress.org/download/
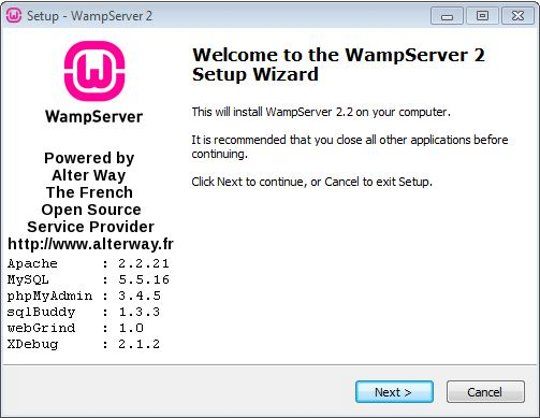
2~ Install WampServer
Lets install WampServer on your Windows. Just follow the simple six steps visual procedure:
(Though, WampServer 2.2a was used for this tutorial, you will find it helpful for any version of WampServer.)
NOTE: I will suggest not to change the names I’ve used in the tutorial, else you can find yourself in trouble. Please only change names if you’re sure you can keep up with the changes.
- Start the setup by opening the file you downloaded in step 1 of downloading setup files.
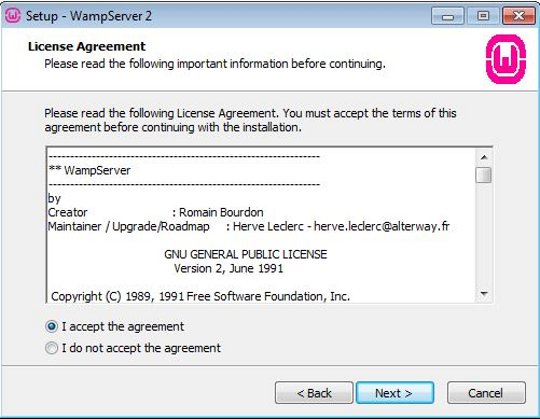
- Accept the agreement and Click ‘Next’ button.
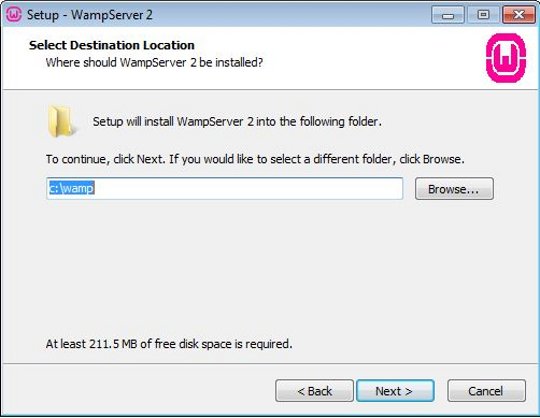
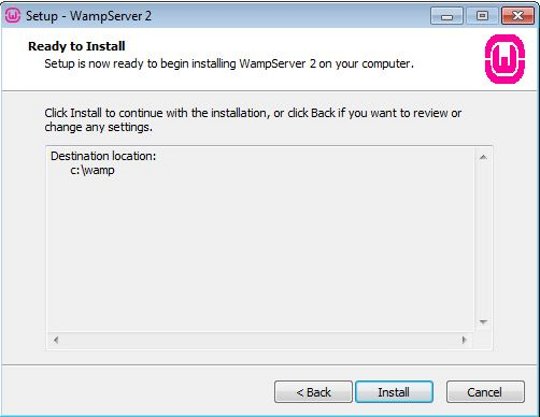
- Select your installation folder and click ‘Next’. I will recommend you to leave it as it is.
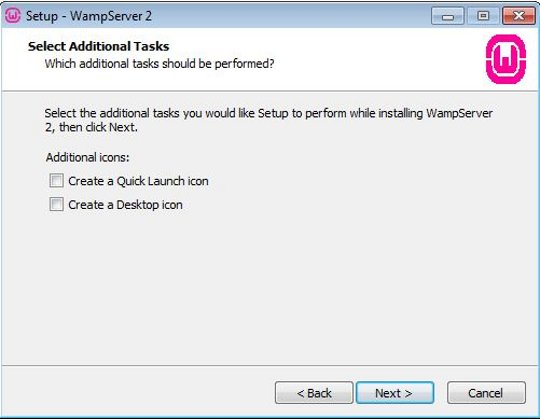
- Select extra icons (if you want to have shortcut icons) and click ‘Next’.
- Click ‘Install’.
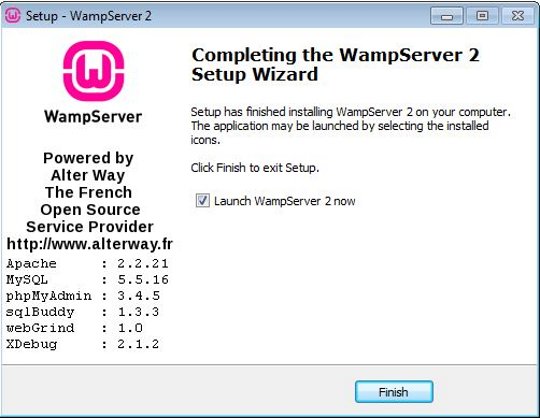
- WampServer setup completed. Click ‘Finish’.
3~ Install WordPress on WampServer
After you’ve installed WampServer, follow these steps to install WordPress on WampServer:
(Though, WordPress 3.3.1 was used for this tutorial, you will find it helpful for any version of WordPress.)
NOTE: I will suggest not to change the names I’ve used in the tutorial, else you can find yourself in trouble. Please only change names if you’re sure you can keep up with the changes.
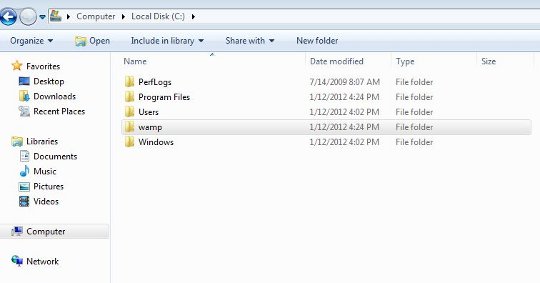
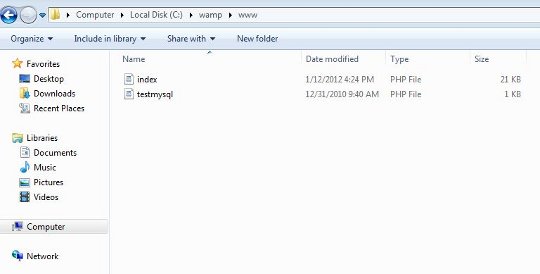
- Goto Computer -> C:drive There you will see a folder named ‘wamp’.
- Open wamp -> www
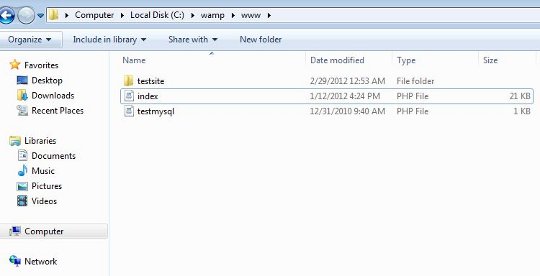
- Create a new folder here, named ‘testsite’ (without quotes). You can keep any name but note it down as it’s your site name and replace ‘testsite’ with your chosen name when it is used in upcoming steps.
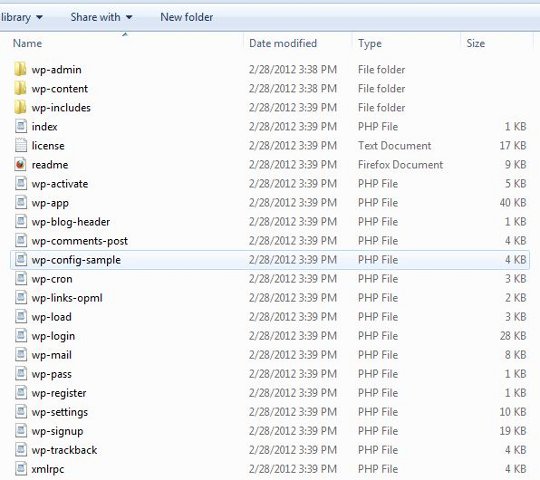
- Now, goto the WordPress setup file (which you downloaded in step 2 of downloading files). Open the zip file named ‘wordpress-3.3.1.zip’ (your’s filename can be changed because of different WordPress version), open folder named ‘wordpress’ and copy/extract its contents to our newly created folder ‘testsite’ [or the name you gave] (created in above step 3 of installing WordPress).
-
Till time, your site folder ‘testsite’ should look like this:
- Open Start menu -> All programs -> WampServer and click ‘Start WampServer’.
Click ‘Yes’ on any UAC dialog window shown. Now, WampServer will be running on your system and you can see its icon in notification area. -
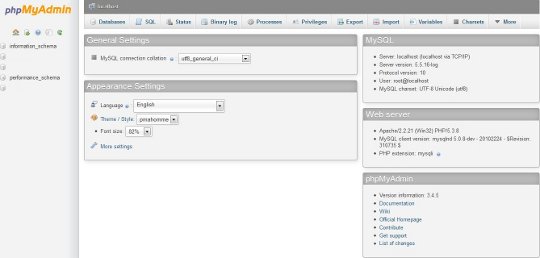
Lets confirm your WampServer is working properly. Open your browser (I prefer Firefox as Internet Explorer loads slowly) and type ‘localhost’ (without quotes) in the address/location bar. You will see this page:
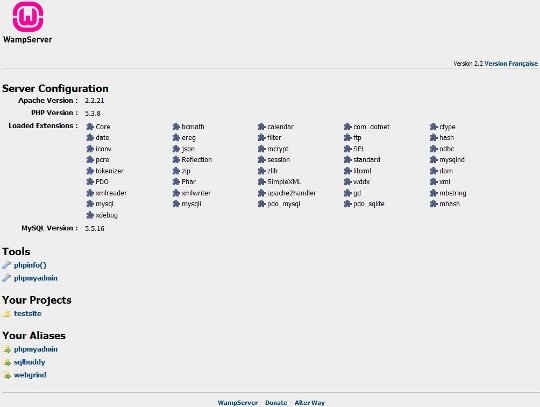
- Click ‘phpmyadmin’ under Tools section.
- Click ‘Databases’.
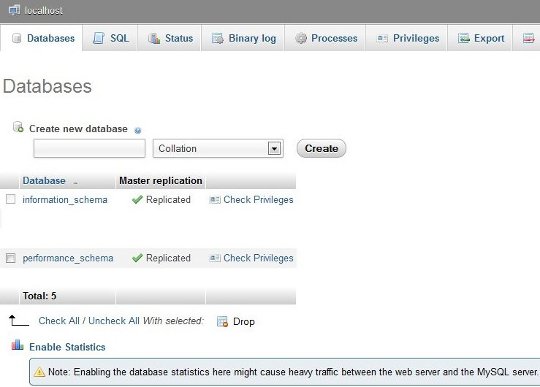
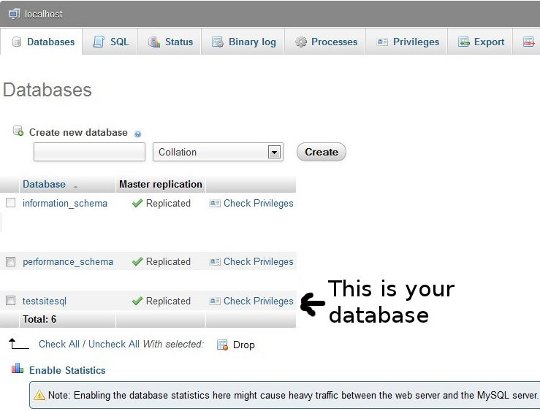
- Type ‘testsitesql’ (without quotes) in the text box below Databases and click create. MySQL database for your WordPress site on WampServer is ready.
- Type ‘localhost/testsite’ (without quotes) in the location bar of your browser. You will see this:
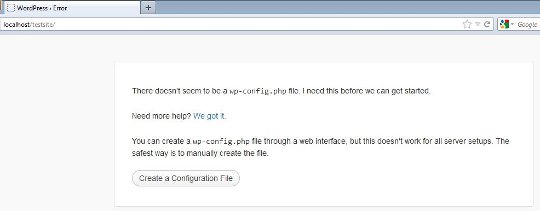
- Click on ‘Create Configuration file’ button.
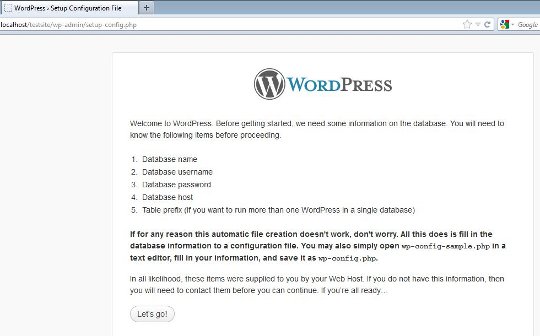
- Click on ‘Let’s go’ button.
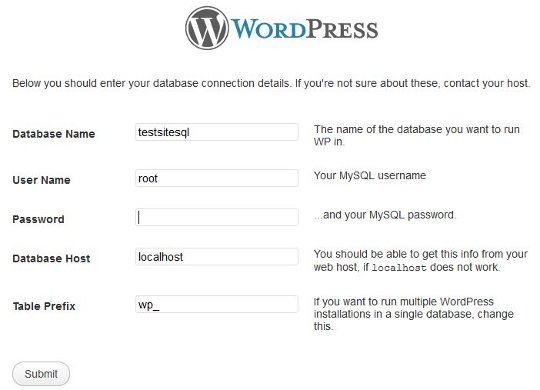
Enter ‘testsitesql’ as Database name and ‘root’ as username. Make Password box blank (you don’t need to write any password for MySQL database). And leave rest two fields intact. Now, click on ‘Submit’ button.
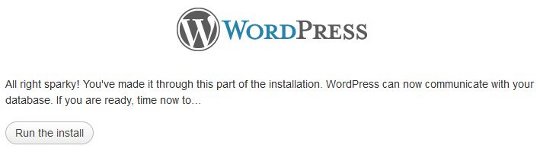
- Click on ‘Run the Install’.
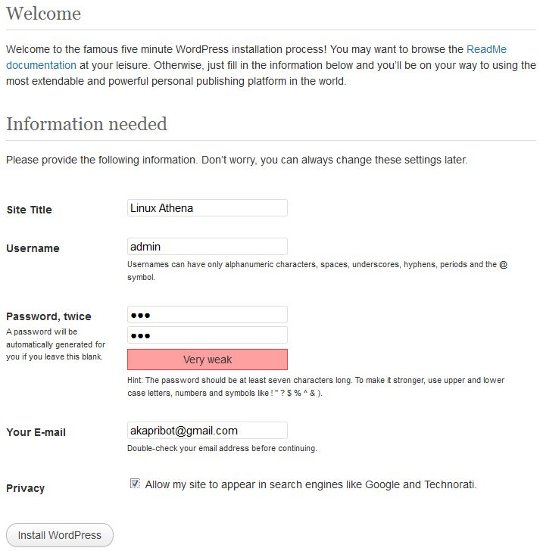
- Enter your site name, username, password, email, etc. and click on ‘Install WordPress’ button.
- Now, you’re almost done. You will see the success message. Click on ‘Log In’ button.
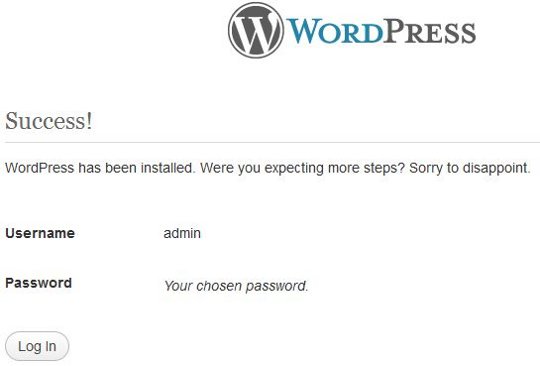
- Enter your chosen username and password (which you chose in step 15) and click ‘Log In’ button.
-
Bravo! WordPress installation is finally complete. You’ve successfully login in WordPress on your WampServer. You will see the welcome message.
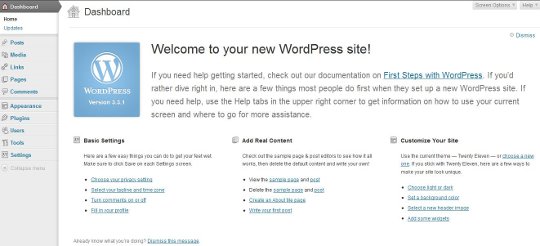
Now, you can enjoy using the best ever-built blogging tool on the planet. Some of the places to begin exploring WordPress is Appearance -> Themes and Settings. I hope you enjoyed the tutorial and found it helpful. Please don’t forget to share your experience through comments.