In our last article, ‘The Story Behind the Acquisition of MySQL‘ we discussed the need to fork MySQL, the rise of MariaDB, its features, a comparative study of MariaDB and MySQL, the migration of some of the world’s renowned corporations, and companies (such as Google and Wikipedia) from MySQL to MariaDB, and many other technical and non-technical aspects of it.
This tutorial will guide you through the process of installing MariaDB on a Debian 12 server and ensuring that it is running with a secure initial configuration.
Step 1: Update Debian System
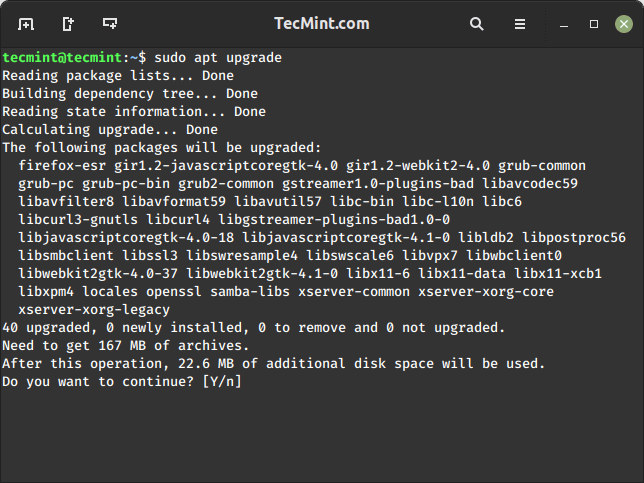
To ensure you have the latest package information, update the system’s package list by running the following apt commands.
sudo apt update
sudo apt upgrade
Step 2: Add MariaDB Repository
Debian 12 includes a default MariaDB version in its repositories, but for MariaDB 11, you need to add the official MariaDB repository that contains software packages related to MariaDB Server, including the server itself, clients, and utilities.
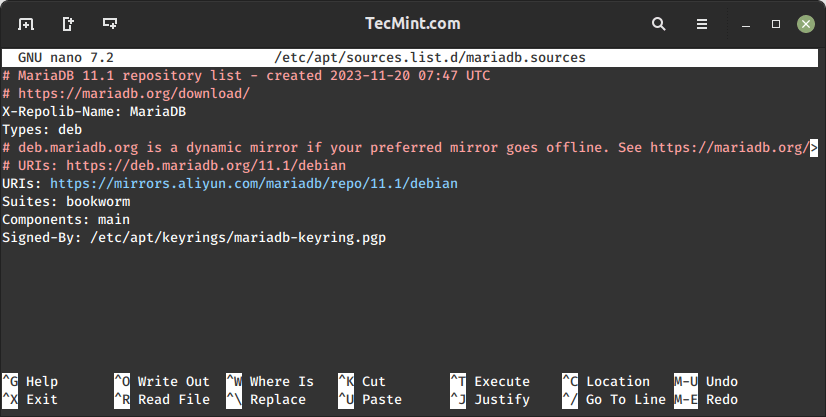
Create the file /etc/apt/sources.list.d/mariadb.sources and add the repository information as shown.
sudo nano /etc/apt/sources.list.d/mariadb.sources
Add the following lines to the file.
# MariaDB 11.1 repository list - created 2023-11-20 07:47 UTC
# https://mariadb.org/download/
X-Repolib-Name: MariaDB
Types: deb
# deb.mariadb.org is a dynamic mirror if your preferred mirror goes offline. See https://mariadb.org/mirrorbits/ for details.
# URIs: https://deb.mariadb.org/11.1/debian
URIs: https://mirrors.aliyun.com/mariadb/repo/11.1/debian
Suites: bookworm
Components: main
Signed-By: /etc/apt/keyrings/mariadb-keyring.pgp
Next, to confirm the authenticity of the packages, import the MariaDB GPG key with the following commands.
sudo apt install apt-transport-https curl
sudo mkdir -p /etc/apt/keyrings
sudo curl -o /etc/apt/keyrings/mariadb-keyring.pgp 'https://mariadb.org/mariadb_release_signing_key.pgp'
Step 3: Install MariaDB 11 on Debian
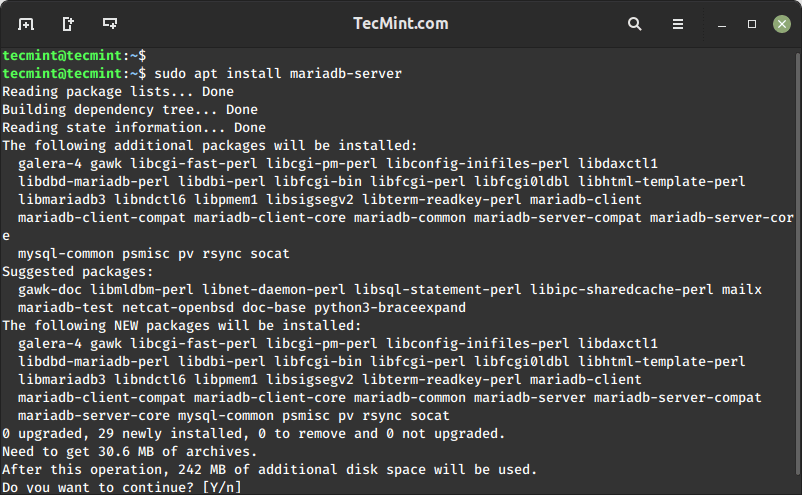
After enabling the MariaDB repository, you can install MariaDB 11 using the following commands.
sudo apt update
sudo apt install mariadb-server
Step 4: Secure MariaDB Installation
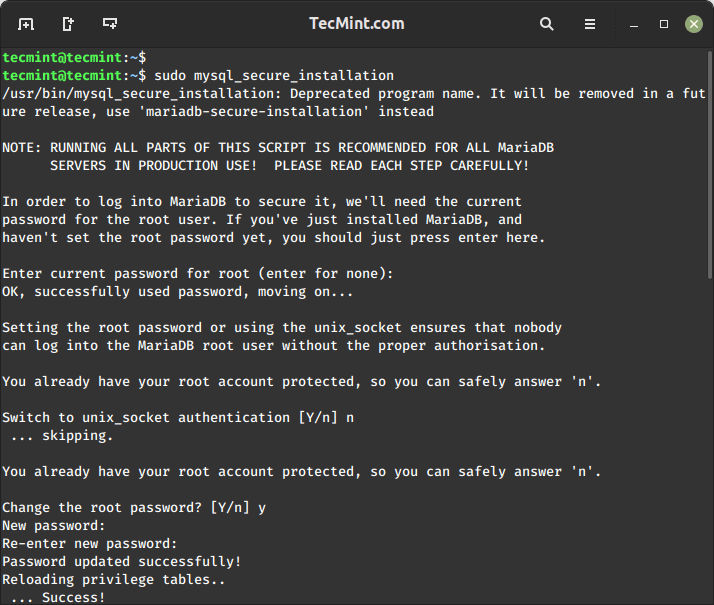
Once MariaDB installation is completed, you need to secure its installation by running the security script as shown.
sudo mysql_secure_installation
You’ll be asked to set a password for the root user, remove the anonymous user, disable remote root login, remove the test database, and reload the privileges.
Step 5: Verify MariaDB Installation
To check the version of MariaDB, you need to run the following mysql command, which will display information about the MariaDB version currently installed on your Debian system.
mysql --version
Sample Output:
mysql from 11.1.3-MariaDB, client 15.2 for debian-linux-gnu (x86_64) using EditLine wrapper
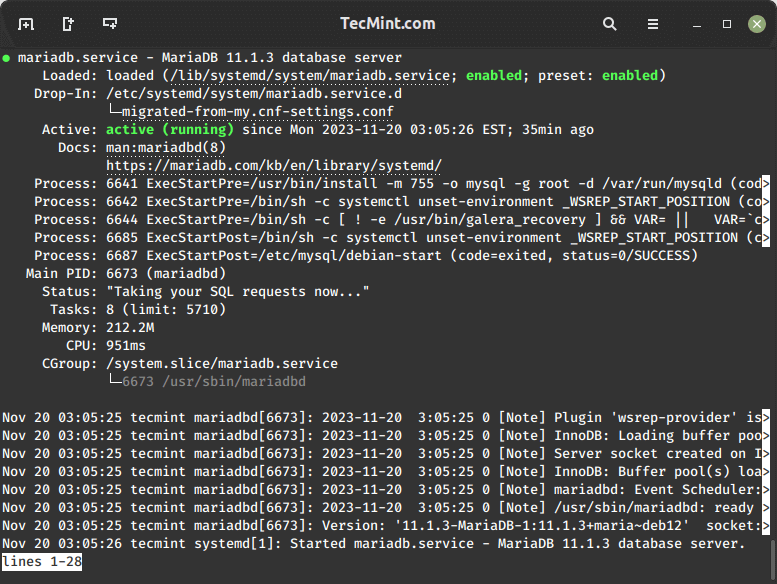
You should also verify that MariaDB is running properly by running the following systemctl command.
sudo systemctl status mariadb
Step 6: Connect to MariaDB Shell
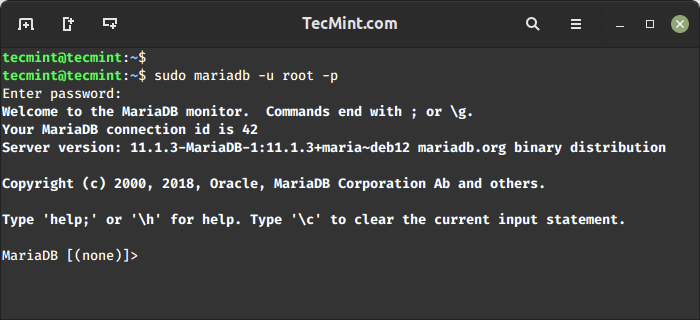
Access the MariaDB command-line interface to confirm that you can connect successfully.
sudo mariadb -u root -p
Enter the root password when prompted. If you can log in without any issues, MariaDB is installed and configured correctly.
Step 7: Create a MySQL User
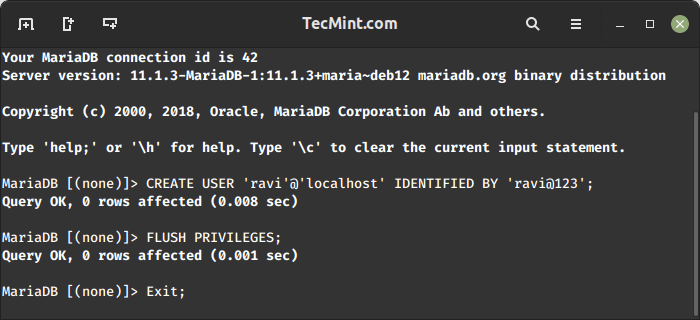
To create a user in MySQL, you can use the following SQL command with your desired username and password as shown.
CREATE USER 'username'@'localhost' IDENTIFIED BY 'password';
FLUSH PRIVILEGES;
EXIT;
Conclusion
You’ve successfully installed MariaDB 11 on your Debian 12 system. Remember to refer to the MariaDB documentation for additional configuration options and best practices.

