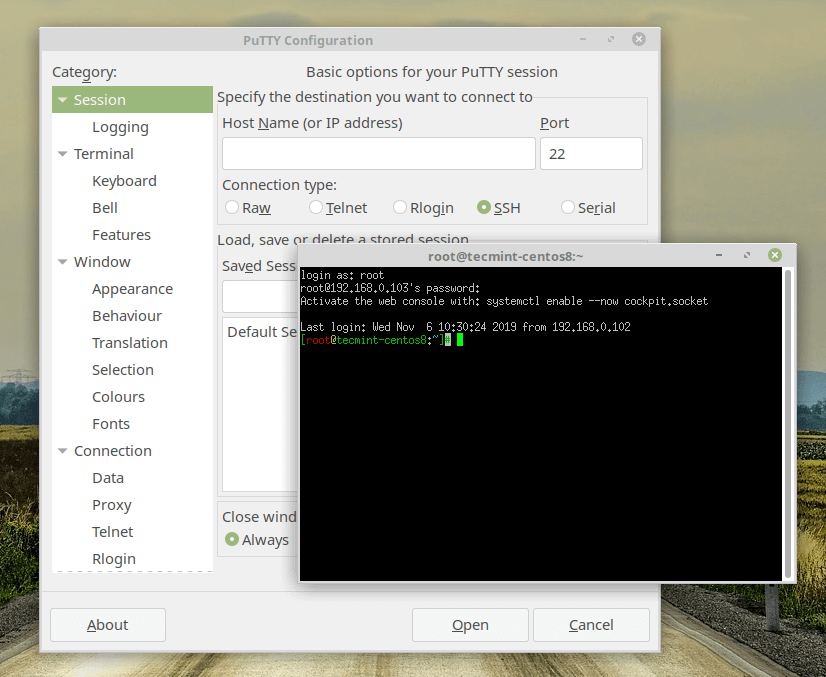
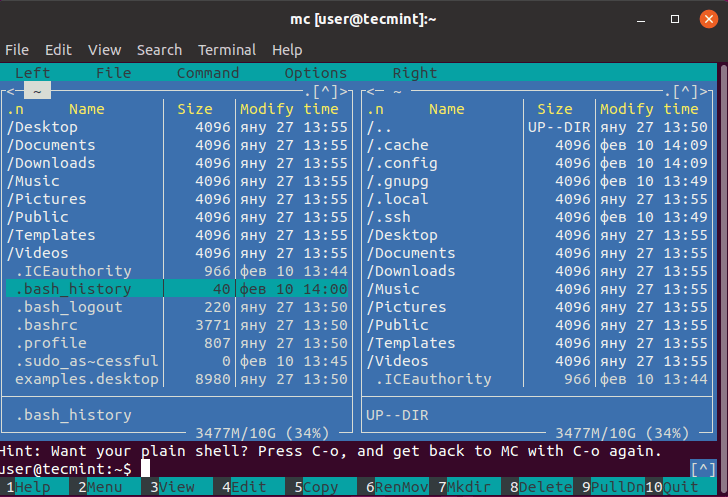
PuTTY is a free and open-source cross-platform SSH and telnet client that even after being around for over 20 years remains one of the most popular SSH clients being used especially on the Windows platform.
Linux distros ship with SSH capabilities built into their terminal but in real-world environments, I have seen PuTTY being used instead of the default Linux systems more times than I cared to count.
The quickest reasons that come to mind for such scenarios include:
- Familiarity: users are more comfortable using an SSH client they got familiar with while using Windows.
- Debug mode: Connection to serial pots and raw sockets is more user-friendly with PuTTY.
- Convenience: PuTTY has a GUI that undeniably makes it easier to use especially by SSH and/or terminal newbies.
It is possible for your own reasons for wanting to use PuTTY on GNU/Linux are different. It doesn’t really matter. Here are the steps to take in order to install PuTTY on the Linux distro of your choice.
How to Install PuTTY on Linux
PuTTY is available to install from the default official repositories in most Linux distributions. For instance, you can install PuTTY on Ubuntu and its derivative distros via the universe repository.
Install PuTTy on Ubuntu and Linux Mint
First, you’ll have to enable the universe repository so that you can access its packages, update your system to recognize its new access rights, and then run the apt install command.
$ sudo add-apt-repository universe
$ sudo apt update
$ sudo apt install putty
Launch PuTTY to see that its UI mirrors that of the windows version. Happy you 🙂

Install PuTTy on Debian
Just like for Ubuntu, PuTTY is available for Debian and all its distros via aptitude (i.e. using apt-get or apt) as shown.
$ sudo apt-get install putty
OR
$ sudo apt-get install putty
Install PuTTy on Arch Linux
Arch Linux and its derivatives can also install PuTTY from the default repositories.
$ sudo pacman -S putty
Install PuTTy on CentOS, RHEL, Fedora, Rocky & AlmaLinux
PuTTY is available to install via the distro’s default package manager such as yum or dnf.
$ sudo yum install putty
OR
$ sudo dnf install putty
Install PuTTy from Source Code in Linux
It’s possible that you want to get your hands ‘dirty‘ and build the SSH client from scratch yourself. You’re in luck because it is open-source and the source code is available to download putty from the official putty website using the following wget command.
$ wget https://the.earth.li/~sgtatham/putty/latest/putty-0.78.tar.gz
$ tar -xvf putty-0.78.tar.gz
$ cd putty-0.78/
$ ./configure
$ sudo make && sudo make install
That’s all folks! You’re now equipped with the knowledge to install PuTTY on any Linux distro, in any environment. Now learn how to use putty with these useful putty tips and tricks.
Do you use a different SSH or telnet client? Tell us about it in the comments section below.


