Teamviewer is a cross-platform, powerful, and secure remote access and control software that can connect to multiple devices simultaneously. It is an all-in-one solution for remote support which can be used for desktop sharing, online meetings, and file transfer between devices connected over the Internet.
It works on notable operating systems such as Linux, Windows, Mac OS, Chrome OS, and mobile operating systems such as iOS, Android, Windows Universal Platform, and BlackBerry.
Recently, the latest stable version of TeamViewer 15 was released with new features and many improvements.
Features of TeamViewer
Following are some of the new features are added in TeamViewer 15 which are highlighted below:
- It is cross-platform, it can connect from PC to PC, mobile to PC, PC to mobile, and even mobile to mobile connections on the major operating systems mentioned above.
- Highly compatible with multiple platforms, from modern to relatively old operating systems.
- Requires no configurations.
- Easy to install and understand.
- Available in over 30 international languages.
- Offers high performance with smart connection setup and routing, efficient bandwidth usage, fast data transmissions plus many more for a reliable user experience.
- Provides high security with the latest technology.
- It is free for testing purposes and personal use.
- Needs no installation, users can now use TeamViewer without necessarily installing it.
- Supports custom QuickSupport, QuickJoin, and Host modules named with a user’s corporate identity with custom configurations.
- Permits permanent access to unattended devices with support of the TeamViewer Host module.
- Supports integration with a user’s applications through APIs.
- Also supports integration into mobile applications in iOS/Android.
How do I Install Teamviewer 15 on RedHat, CentOS, Fedora
You may download the package for rpm-based Linux distributions at the Teamviewer download page or you can use the following wget command to download and install it as shown.
------------- On 64-bit Systems ------------- # wget https://download.teamviewer.com/download/linux/teamviewer.x86_64.rpm
# yum install teamviewer.x86_64.rpm ------------- On 32-bit Systems -------------
# wget https://download.teamviewer.com/download/linux/teamviewer.i686.rpm
# yum install teamviewer.i686.rpm
If you get a missing public key error, you can download the public key and import it using the following command.
# wget https://download.teamviewer.com/download/linux/signature/TeamViewer2017.asc
# rpm --import TeamViewer2017.asc
After importing the public key, please run the “yum install” command again to install the Teamviewer rpm.
# yum install teamviewer.x86_64.rpm
To start the Teamviewer application, run the following command from the terminal.
# teamviewer
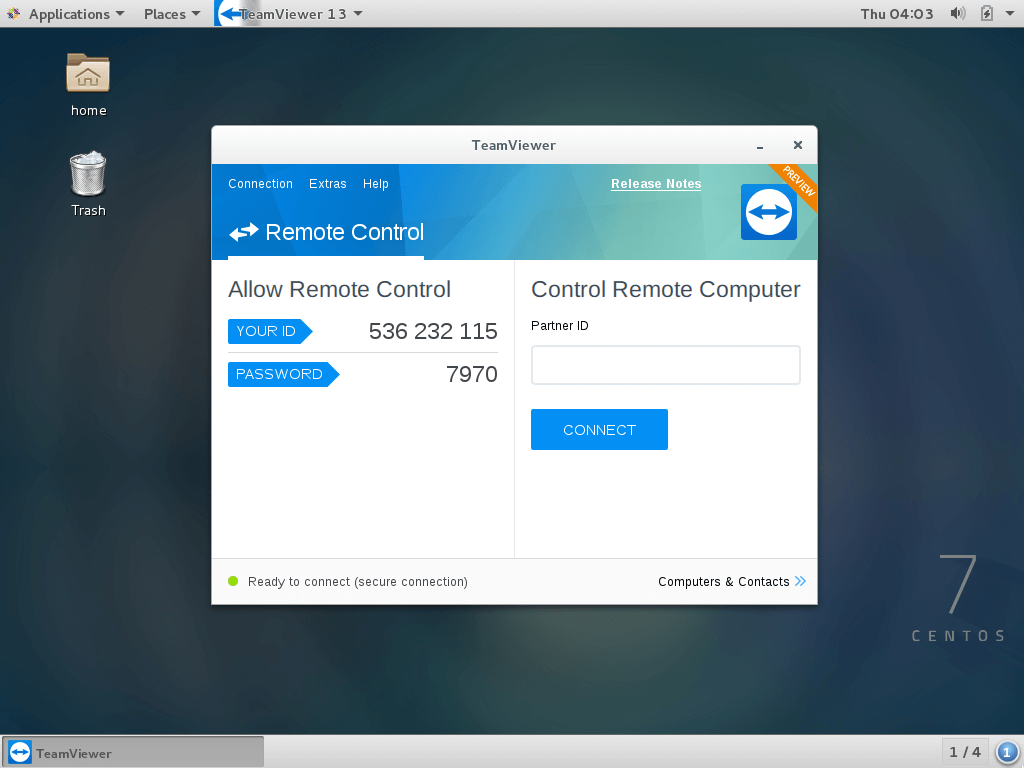
Teamviewer application running on my CentOS 7 system.

How do I Install Teamviewer 15 on Debian, Ubuntu, and Linux Mint
You may download the package for .deb-based Linux distributions at the Teamviewer download page or you can use the following wget command to download and install it as shown.
------------- On 64-bit Systems ------------- $ wget https://download.teamviewer.com/download/linux/teamviewer_amd64.deb
$ sudo dpkg -i teamviewer_amd64.deb ------------- On 32-bit Systems -------------
$ wget https://download.teamviewer.com/download/linux/teamviewer_i386.deb
$ sudo dpkg -i teamviewer_i386.deb
If you get a missing dependencies error, please use the following command to install those dependencies.
$ sudo apt-get install -f
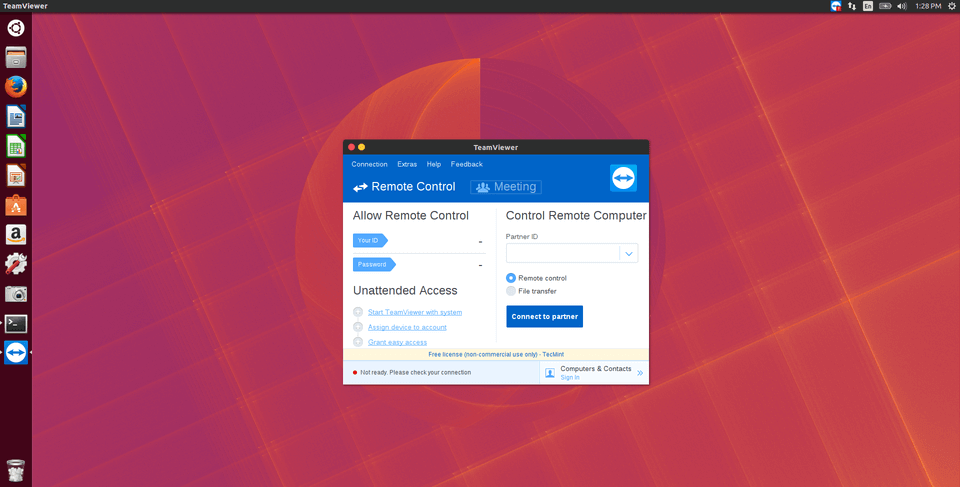
Once installation is done, you can start Teamviewer from the terminal or go to Ubuntu Dash Home and type teamviewer and click on the icon to run the application.
$ teamviewer

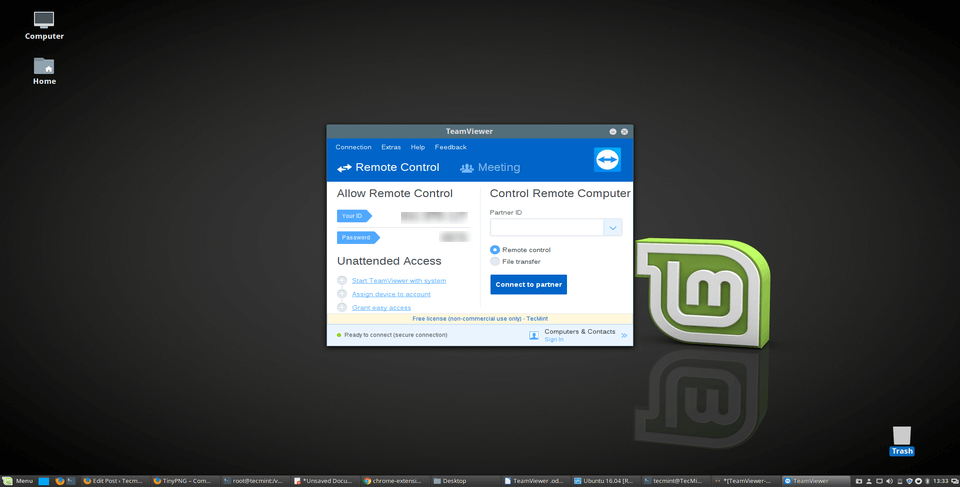
To start on Linux Mint, Go to Menu >> Internet >> Teamviewer and click on Accept License Agreement to run the application.


