
1. Identify
The preliminary step is to identify whether your website is being compromised. It would be clear if we have such indications. Few examples if your website has been compromised:
- Suspicious action or activity i.e. unknown page/post being created or an unknown user being created
- Message from Google Webmaster central saying that your website maybe harmful
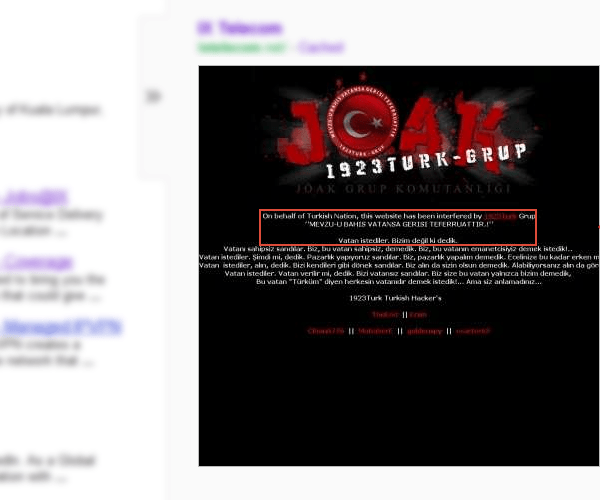
- Your front page being compromised or replace with a splash image as below:

Picture (above): Google cache of a compromised site.
2. Backup Content
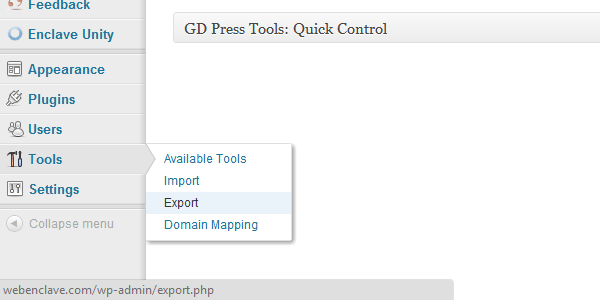
Back up the content of your website using the WordPress export tool (Dashboard > Tools > Export).

Note: Remove the unknown post or page being created before exporting the content.
Remember to also backup the settings for your plugin and theme if they have it.
3. Plugins and Theme (Optional)
List down the plugin list that you use. Remember that you will need to re-install this plugin again by downloading the new plugin from the WordPress Plugin Directory. Ensure that you have the updated version.
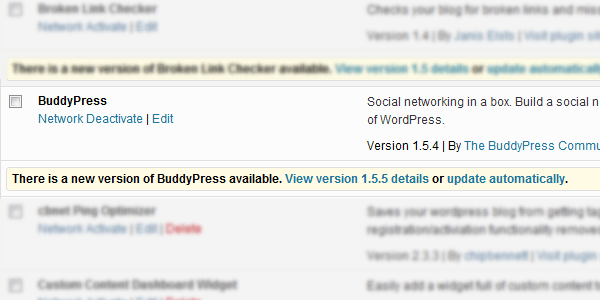
Below is an indication that the plugin that you use has an update.

Note: If you are cautious about the plugin update, read the plugin upgrade log to know whether it is compatible with your WordPress version, server setting or does it fix any security issues.
With regards to the theme, ideally we will need a new theme file. Basically:
- If you have a backup of theme files prior to the website issue, you could use it. If not, you could use the theme on the staging server prior to your website launch.
- If you are using theme from other company or developer, ensure you get a new and updated version if available.
Both of the plugin and theme steps above are used to ensure that we have a new clean installation of your website.
4. Create new WordPress installation
As the step suggest, we need a new installation. Kindly note that if possible, you should:
- Create a username and password for your database
- Create a new table for your WordPress installation
5. Load the content, plugins and theme
After finished the new installation. Below is the ideal step to easily ensure your website is restored as similar to the old site.
- Step 1: Install the new theme
- Step 2: Install the plugin from the list your created previously. Ideally using the Install Plugin features from the backend. http://www.yourdomain.com/wp-admin/plugin-install.php
- Step 3: Load the content by using the Import Tool (Dashboard > Tools > Import)
- Step 4: Load the plugin and theme settings (if applicable)
6. Install security plugins
In order to ensure you have adequate security level, plugin like Secure WordPress will help you to identify the area which need attention.
7. Create a backup and restore point on the server
And if your hosting provide allow, you could ask them to back and create a restore point of your website on the server. If you host with WPWebHost, just email the support team and they will take care of all your worries.


