In this article, we’ll walk you through the step-by-step process of installing the latest version of PhpMyAdmin with Apache web server on RHEL-based distributions such as CentOS Stream, Fedora, Rocky Linux, and Alma Linux.
What is PhpMyAdmin?
PhpMyAdmin is a popular and powerful web-based database management tool, and having the latest version ensures you have access to the most up-to-date features and security enhancements. By the end of this guide, you’ll be able to manage your MySQL or MariaDB databases with ease using PhpMyAdmin.
Prerequisites
Before we begin, make sure you have the following:
- Access to a RHEL, CentOS Stream, Fedora, Rocky Linux, or AlmaLinux system.
- Make sure you can either log in as the root user or have sudo privileges to install software.
- An existing LAMP stack, which includes Apache, MySQL/MariaDB, and PHP. If you don’t have LAMP, you can follow these steps to set it up.
Step 1: Update the System
Before installing any software, it’s crucial to ensure that your system is up to date by running the following dnf command.
sudo dnf update
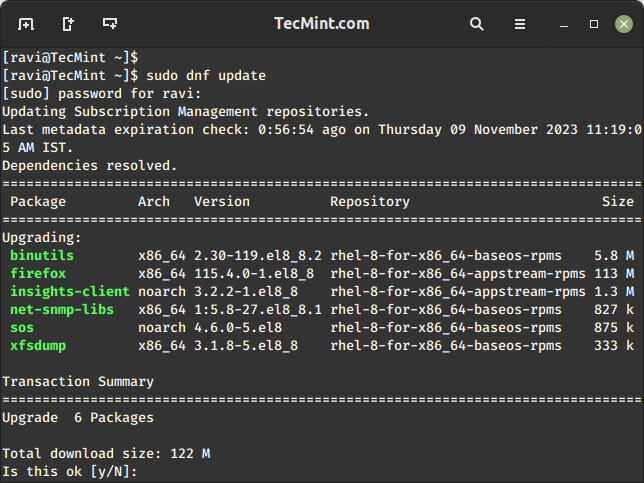
This will update all the packages on your system to the latest versions.
Step 2: Install Apache Web Server
PhpMyAdmin is a web-based tool, and to use it, you need to install the Apache web server using the following command.
sudo dnf install httpd
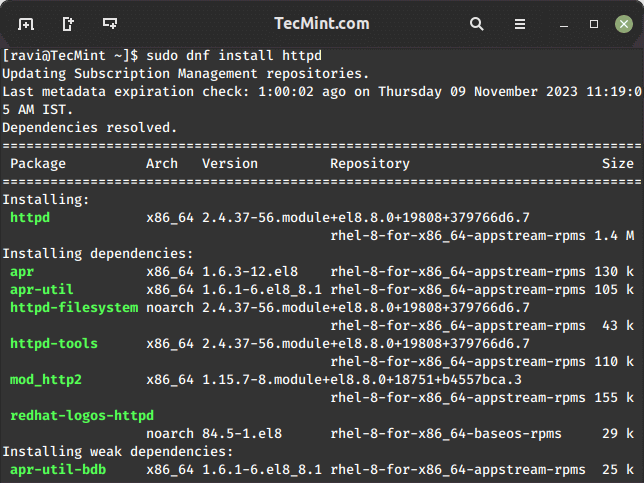
Once installed, start the Apache service and enable it to start at boot.
sudo systemctl start httpd
sudo systemctl enable httpd
Step 3: Install MariaDB or MySQL
You will also need a database server. You can choose to install either MariaDB or MySQL, but we will go with MariaDB in this example.
sudo dnf install mariadb-server
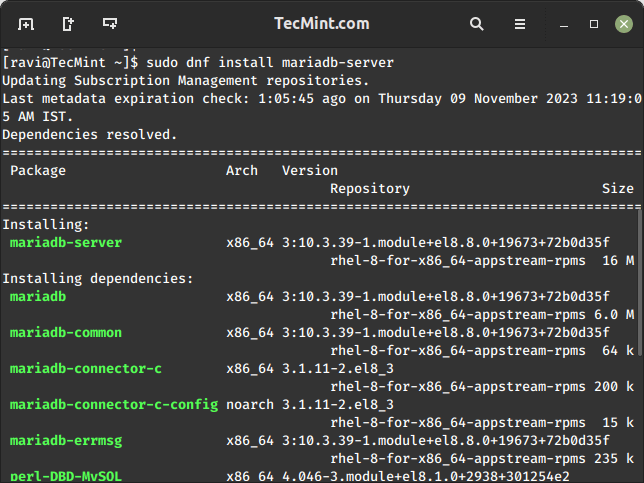
Once installed, start the MariaDB service and enable it to start at boot.
sudo systemctl start mariadb
sudo systemctl enable mariadb
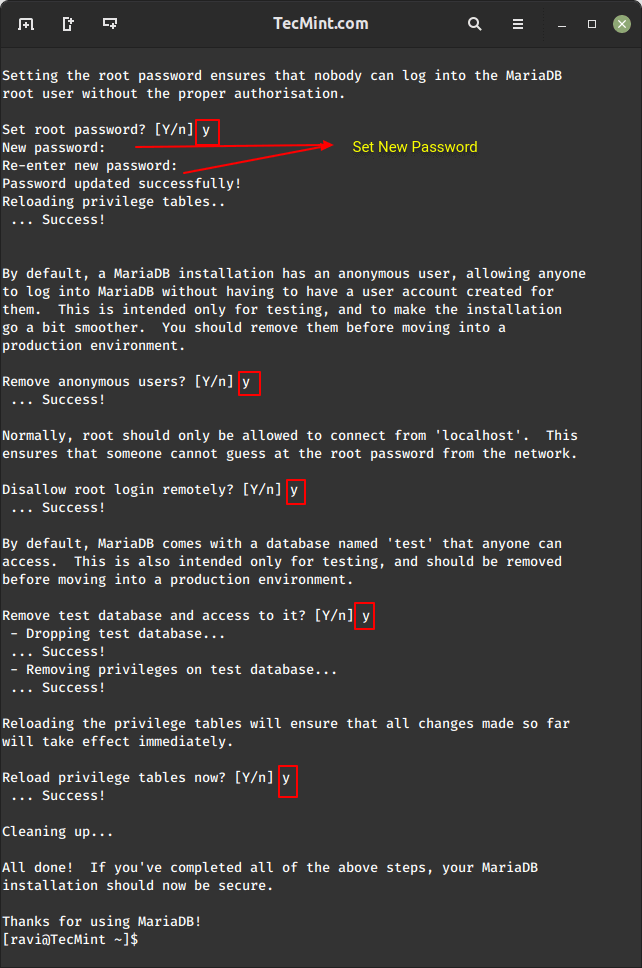
Next, secure your MariaDB installation by running the script, which will prompt you to enter a password for the root user, disallow remote root logins, and remove anonymous users. It will also remove the test database, which by default can be accessed by anonymous users.
sudo mysql_secure_installation
Step 4: Install PHP
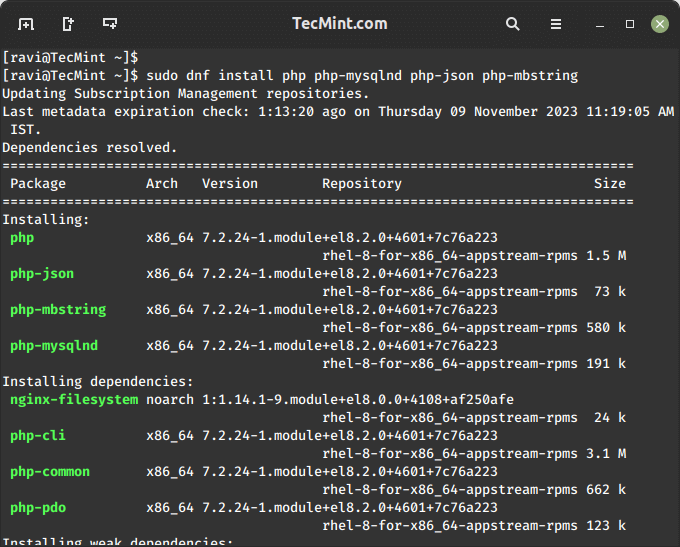
PhpMyAdmin is built with PHP, so we need to install PHP and some required extensions using the following command.
sudo dnf install php php-mysqlnd php-json php-mbstring
Step 5: Install PhpMyAdmin
Now, let’s proceed with installing PhpMyAdmin on our Linux system by navigating to the web server’s document root directory /var/www/html as shown.
cd /var/www/html
Next, download the latest version of PhpMyAdmin using the following wget command as shown.
sudo wget https://www.phpmyadmin.net/downloads/phpMyAdmin-latest-all-languages.tar.gz
Once downloaded, extract the downloaded archive and rename the directory for convenience.
sudo tar -xvzf phpMyAdmin-latest-all-languages.tar.gz
sudo mv phpMyAdmin-*/ phpmyadmin
Create a configuration file for PhpMyAdmin.
sudo cp /var/www/html/phpmyadmin/config.sample.inc.php /var/www/html/phpmyadmin/config.inc.php
Edit the configuration file:
sudo nano /var/www/html/phpmyadmin/config.inc.php
Find the following line and set your own blowfish_secret:
$cfg['blowfish_secret'] = 'your_secret';
Save and exit the file.
Step 6: Open Apache Port in firewalld
By default, Apache commonly uses ports 80 and 443 for HTTP and HTTPS, respectively. To open Apache ports and allow access to PhpMyAdmin on your server, run:
sudo firewall-cmd --zone=public --add-port=80/tcp --permanent
sudo firewall-cmd --zone=public --add-port=443/tcp --permanent
sudo firewall-cmd --reload
These commands add a rule to allow incoming traffic on the specified port and reload the firewall to apply the changes.
Step 7: Restart Apache Web Server
Finally, restart Apache to apply the changes:
sudo systemctl restart httpd
Step 8: Access PhpMyAdmin
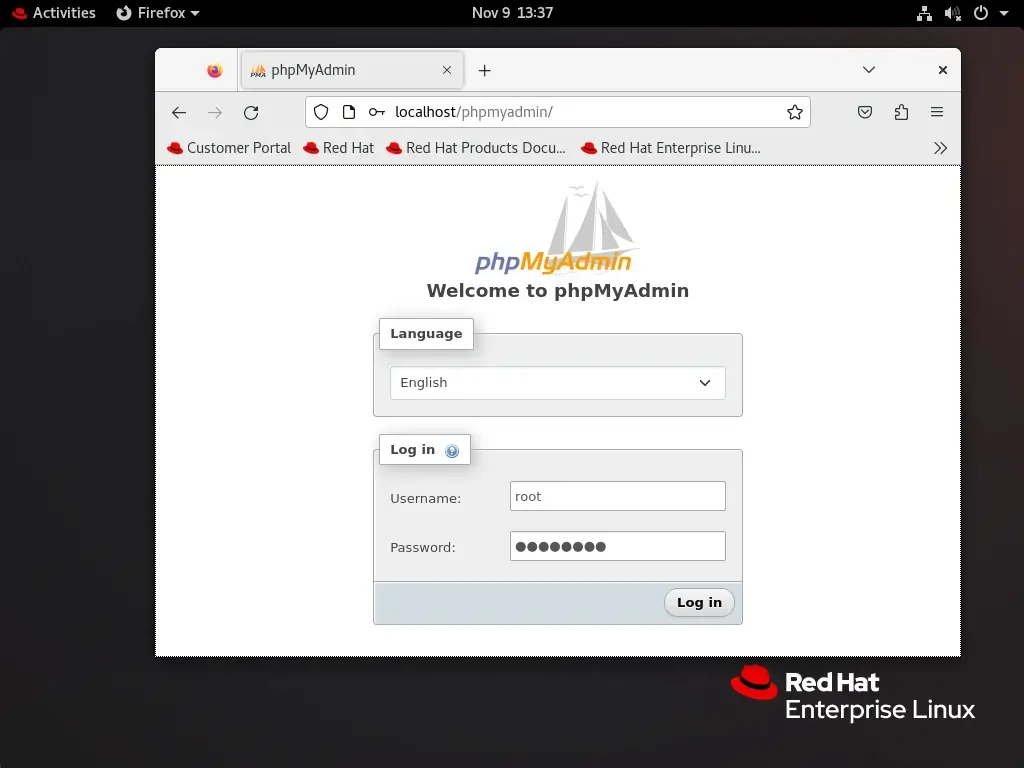
You can now access PhpMyAdmin through your web browser by navigating to your server’s IP address or domain name followed by “/phpmyadmin” in the URL:
http://your_server_ip/phpmyadmin
Log in using your MySQL or MariaDB credentials.
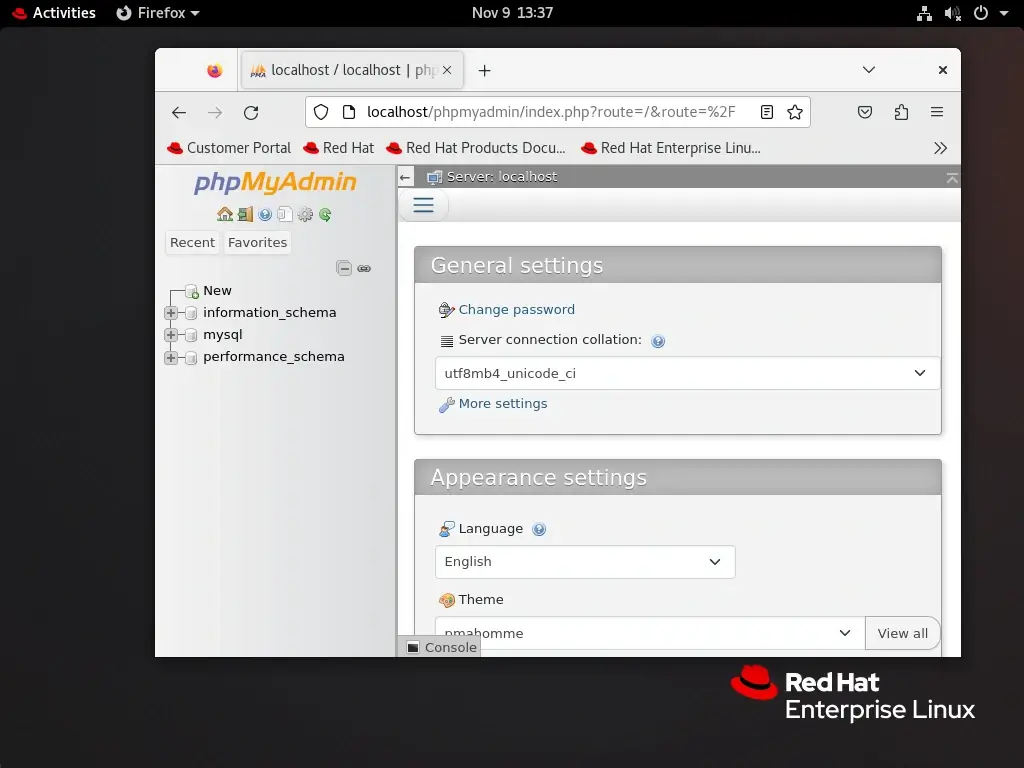
Step 9: Allow External Access in PhpMyAdmin
Open the PhpMyAdmin configuration file.
sudo vi /etc/httpd/conf/httpd.conf
Find the <Directory "/var/www/html"> section or the section where your PhpMyAdmin is configured and update the Require directive to allow all IP addresses to access PhpMyAdmin.
<Directory "/var/www/html/phpmyadmin"> ... Require all granted ...
</Directory>
The above configuration allows access from any IP address, but if you want to restrict access to specific IPs, replace Require all granted with Require ip your_ip.
Restart Apache to apply the changes.
sudo systemctl restart httpd
Now, you should be able to access PhpMyAdmin from the outside world using your server’s IP address or domain.
http://your_server_ip/phpmyadmin
Remember, opening access to PhpMyAdmin from the outside world can pose security risks. Make sure that you have a strong authentication mechanism in place and consider using HTTPS for encrypted communication. Additionally, restrict access to only trusted IP addresses if possible or secure PhpMyAdmin login URL.
Conclusion
Congratulations! You’ve successfully installed PhpMyAdmin with Apache on your RHEL, CentOS Stream, Rocky Linux, or AlmaLinux system. This web-based tool simplifies the management of your databases, making tasks like database creation, queries, and data management a breeze.
