Are you worried that your website visitors will be affected when you make changes to your website? We understand your worries. Your visitors expect your website to work all the time, and when your website is down, it gives a negative impression to them. In this case, you can either put your site into maintenance mode or carry out testing in a staging environment. The following are the scenarios that you might need to perform either one of the practices.
- When you want to update your WordPress Core.
- When you want to switch your WordPress theme or design.
- When you need to fix a major bug that could potentially affect your users’ data.
In this blog post, we’ll be discussing the details of both approaches. Read on, and we hope you learn something useful here.
What is WordPress Maintenance Mode?
The WordPress Maintenance Mode allows website owners/admins to show a page that informs the visitors that the site is temporarily unavailable, when updates or changes of website are in progress (for example, when updating core or switching themes). The purpose of maintenance mode is to announce a user-friendly notice to your visitors and inform them when your site will go live again. Instead of a broken site, this creates a better user experience and a positive brand image to your users. Moreover, if it’s a new website, you can still publish your website even it’s still under development, by showing your visitors your social media links or email address for contact purposes.
How to Turn Your WordPress Website Into Maintenance Mode in Plesk?
We’ll show you the easiest way to turn your website into maintenance mode with or without a plugin. It all depends on what type of configuration you are doing. If you are making some changes that have nothing to do with the WordPress dashboard like updating core, you can just do it with WordPress Toolkit in Plesk, by following the tutorial below:
First, login to your Plesk control panel and go to WordPress Toolkit.

Go to the website that you wish to put into maintenance mode and click on it.
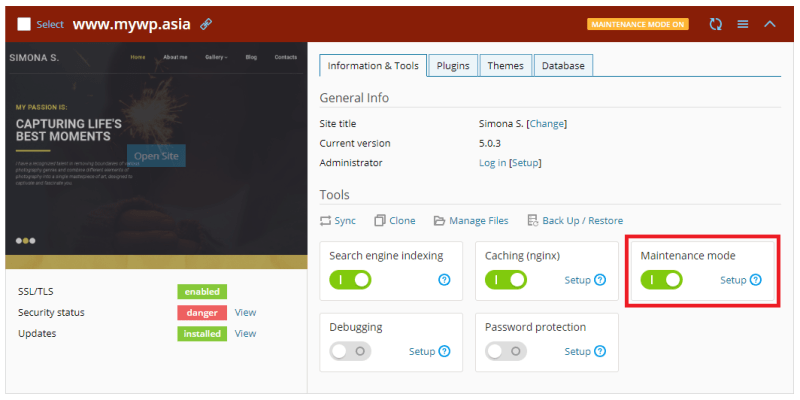
And your site is now in maintenance mode.
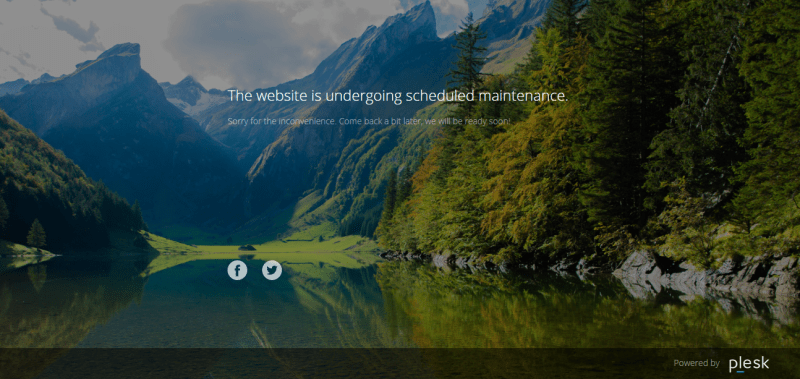
Besides, you can also customize the page with CSS language and the text displayed on the maintenance screen.
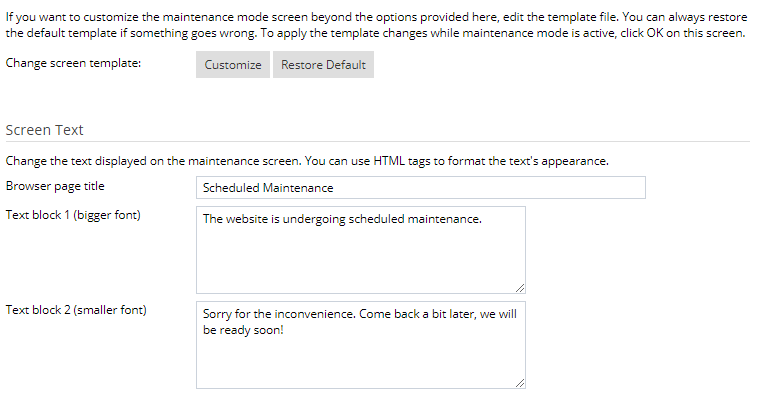
Moreover, you can even set up a countdown timer to let your visitors know exactly when your site will go live again, together with your social network links so that you visitors are still able to reach you.
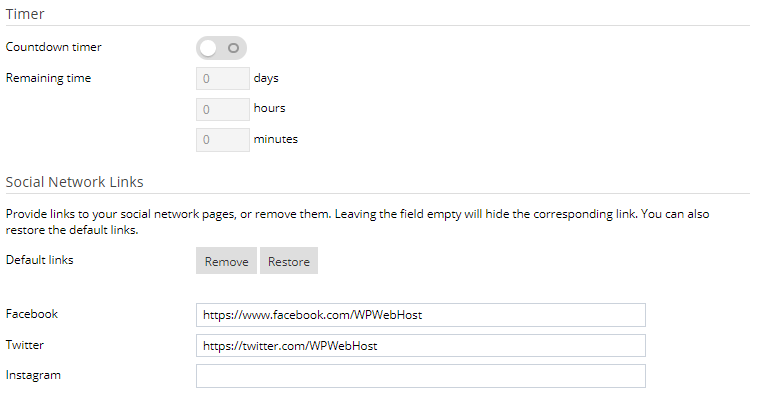
Please note that this approach will block the whole website, including accessing the WordPress admin dashboard.
How to Turn Your WordPress Website Into Maintenance Mode with plugin?
If your maintenance requires tweak in the WordPress admin dashboard, then the easiest way should be installing a plugin in order to enter maintenance mode.
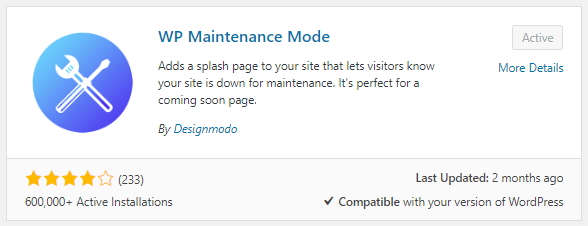
We recommend WP Maintenance Mode. This plugin is free, easy to use and provides all essential features that you need, such as customizable header and text, countdown timer, and social media links.
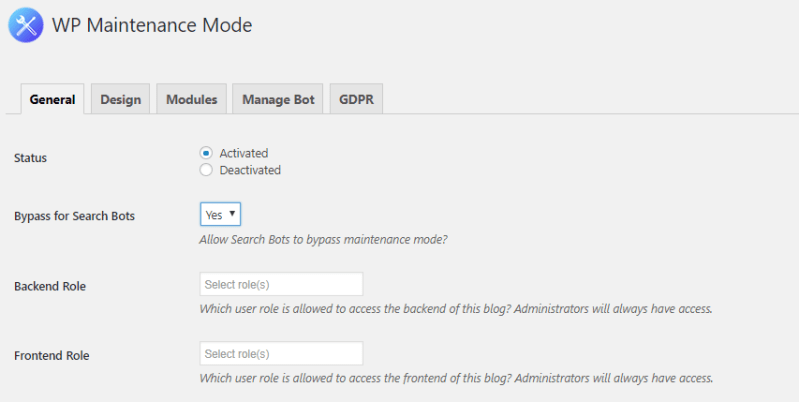
Besides, you can even specify which user roles should be allowed to access the front and backend of the website while it is in maintenance mode, and exclude feed, pages, archives or IPs from maintenance mode.
Instead of putting your site into maintenance mode, you can also consider creating a staging environment and make your changes over there. Ideally, your website should be live 24/7/365 without any downtime. Although it has been put into maintenance mode, bear in the mind that it still brings certain negative experience to your visitors and may eventually affect the ranking in search engine results.
What is a staging environment?
It is a full copy of your production website on which you can do experiment without the risk of changing your public website. In other words, you can do whatever you want in the staging environment without affecting the production site (the live site). When changes and final checking are done, simply apply the changes to the live site. A managed WordPress hosting should provide staging environment in their package.
Next, we’ll explain on how to create a staging environment on your site, and how to apply changes to the production site.
How to create a staging environment?
- Login to your Plesk Control Panel > WordPress Toolkit.
- Click Clone on the website that you want to make changes.
- By default, WordPress Toolkit will create or use an existing subdomain with the “staging” prefix.
- You can either change the staging subdomain or create a new domain.
- Cloning of your production site is now in progress. WordPress Toolkit helps to copy your files and database to the new domain and configures it all to work together.
- Once the staging environment is done, you are recommended to change and apply the following settings:
- Disable search engine indexing so that your staging site is not searchable by the search engine.
- Enable debugging and logging. If you’re testing new code, it will help you to troubleshoot any potential issues.
- Turn on password-protected access. If you’d like to limit access to work-in-progress only to specific reviewers, enable password-protected access.
[embedded content]
And now you have a staging environment to explore and experiment with your site. Once you are done, it’s time to apply changes to the production site.
How to apply changes to the production site?
- First, click “Sync” on your staging website.
- Select your production website from the “Target WordPress website” drop-down.
- Select what you want to sync. You should always choose to synchronize both files and database.
- Before synchronization starts, Plesk lets you create a restore point. We strongly recommend this. If something goes wrong, you’ll be able to roll your production website back to the last working version.
- After synchronization is finished, go to the production website to ensure everything is working fine.
- Finally, delete your restore point, or roll back if something goes wrong.
[embedded content]
Pretty easy right? Creating a staging environment allows you to make changes without any downtime and put your site into maintenance mode. However, if you have a newly launched website, you can still put it into maintenance mode to create excitement for your visitors.
Please feel free to comment below and let us know the method you prefer when performing maintenance on your website.
Cheers!
